Onboarding: Account Setup - Integrations
This onboarding guide will help you connect your Meta accounts and set up Evalent.ai in just a few minutes. The process is simple and takes less than 3 minutes from start to finish.
Step 1: Navigate to Integrations
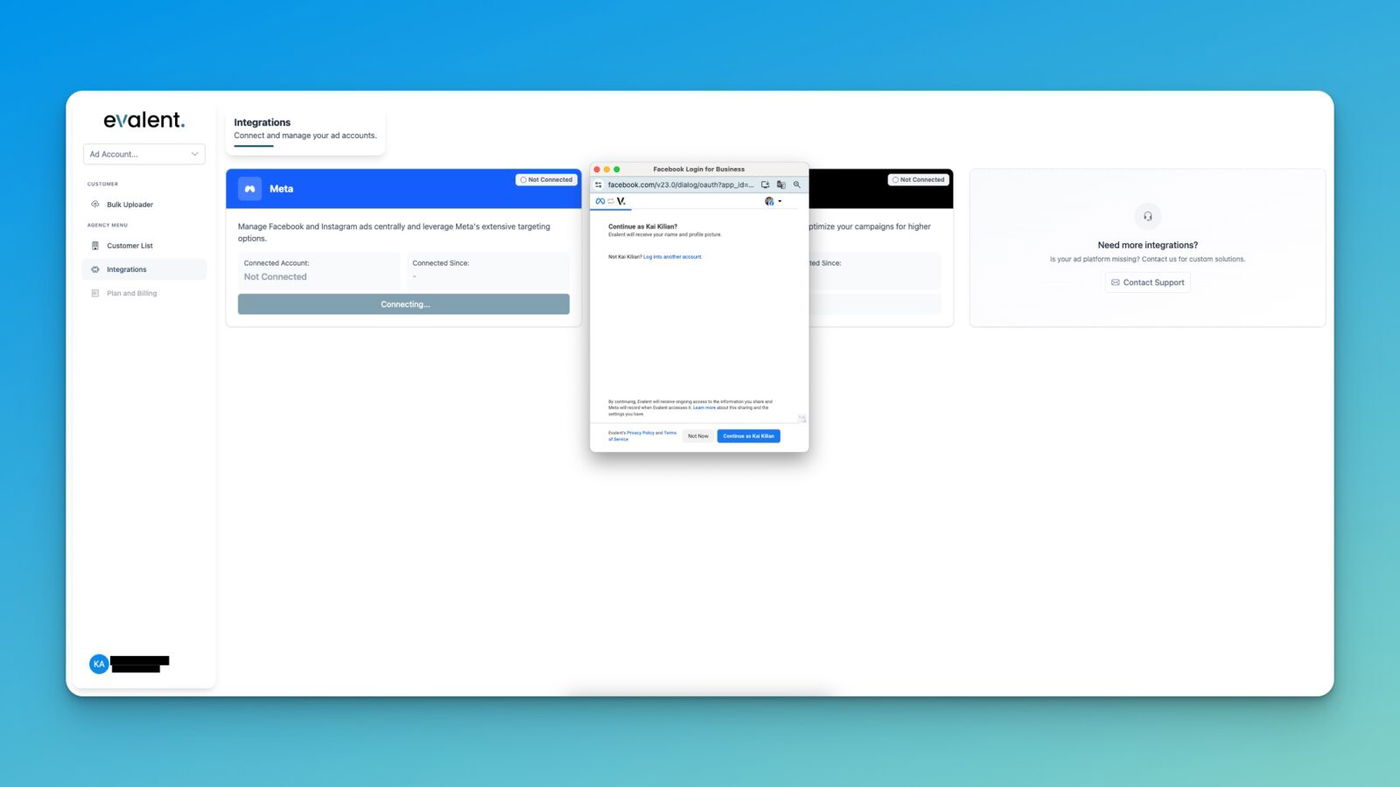
After signing up and logging into Evalent.ai, you will be directed to your dashboard. On the left-hand menu, locate and click “Integrations.” This is where you can connect your ad accounts, including Meta (Facebook & Instagram).

Step 2: Start Meta Integration
In the Integrations view, click on the Meta card. This will open a new login window powered by Facebook Login for Business. Evalent uses this secure login to connect to your Facebook Business account, Pages, and Instagram accounts.
Step 3: Confirm Your Meta Account
You will now see a Facebook popup asking you to confirm your account.
- Click “Continue as [Your Name]” to proceed.
-
If you want to use a different account, choose “Log into another account.”
Step 4: Grant Business Access
Next, Facebook will ask which Businesses you want Evalent to access.
You can choose:
- Opt in to all current and future Businesses (recommended, ensures full compatibility), or
-
Opt in to current Businesses only (restricted access to currently active Business accounts).
Click Continue once selected.
Step 5: Grant Instagram Access
Similarly, Facebook will prompt you to select the Instagram accounts you want Evalent to connect to.
Choose either:
-
All current and future Instagram accounts, or
-
Only current accounts.
Click Continue to proceed.
Step 6: Grant Page Access
Now, Facebook will request access to your Facebook Pages.
Here you can:
-
Allow Evalent to connect with all current and future Pages (recommended), or
-
Restrict access to current Pages only.
Click Continue to confirm.
Step 7: Review Permissions
Finally, review the list of requested permissions. Evalent requires these to:
-
Manage your ads and view related statistics
-
Manage your Business assets
-
Access connected Instagram profiles and posts
-
Show a list of Pages you manage
Click Save to finish.
Step 8: Connection Successful
After granting permissions, you’ll return to Evalent.ai.
Your Meta account will now appear as Connected in the Integrations dashboard, showing:
- Connected Account name
-
Connection date
-
Account ID
-
Status (Active)
You can always view details or disconnect later if needed.